IMPORTANT: My Cloud OS 3 End of Support Notice!
My Cloud OS 3 has reached its end of support life cycle.
Update to My Cloud OS 5.
Need more help?
- My Cloud OS 3 End of Support
- WDC 21004 Recommend Upgrade to My Cloud OS 5
- Answer ID 32059 My Cloud OS 3: Cloud Access and Notification Email Support Removed
- Answer ID 29813: Steps to Manually Update My Cloud OS 3 to My Cloud OS 5
- Answer ID 28740: Western Digital Product Lifecycle Support Policy
NZBGet is a cross-platform tool for downloading nzb files.
It has client/server mode and automatic file repair.
IMPORTANT:
WD respects the right of copyright owners to control the uses of their intellectual property, and requires our users to do the same. The user is responsible for complying with all copyright laws while using the NZBGet client.
The user agrees that they will not use the NZBGet client to infringe the copyrights or other intellectual property rights of others in any way, including but not limited to, copying or distributing copyrighted works. The user further agrees that they will not use the WD software or the NZBGet client in an attempt to, or in conjunction with, any device, program or service designed to circumvent technological measures employed to control access to, or the rights in, a content file or other work protected by the copyright laws of any jurisdiction.
Installing App
- Access the Dashboard.
Need more help?
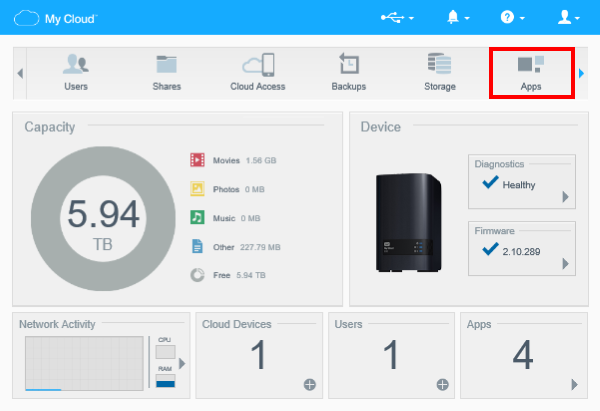
Answer ID 27432: My Cloud OS 3: Access the Dashboard - Click Apps.
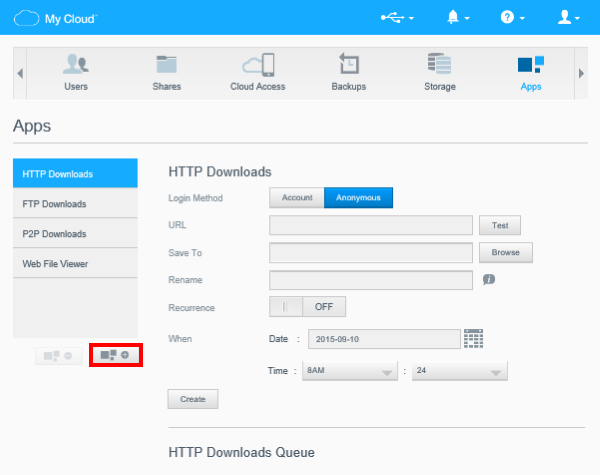
- Click add Apps.
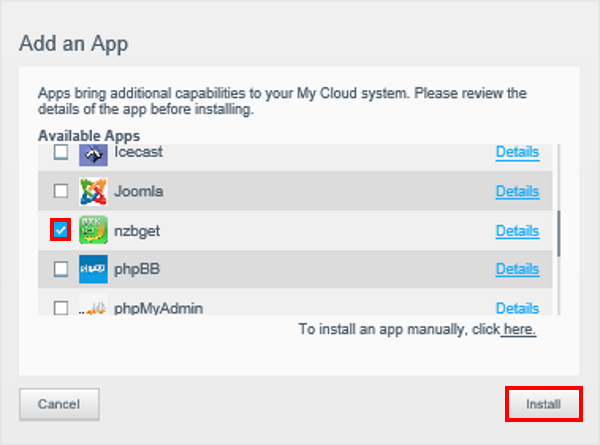
- Find nzbget app.
Select it.
Click Install.
- Click OK.
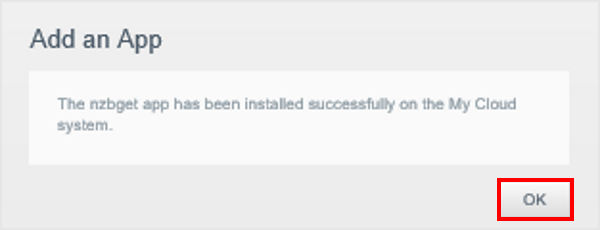
Configure App
- Access the Dashboard.
Click Apps.
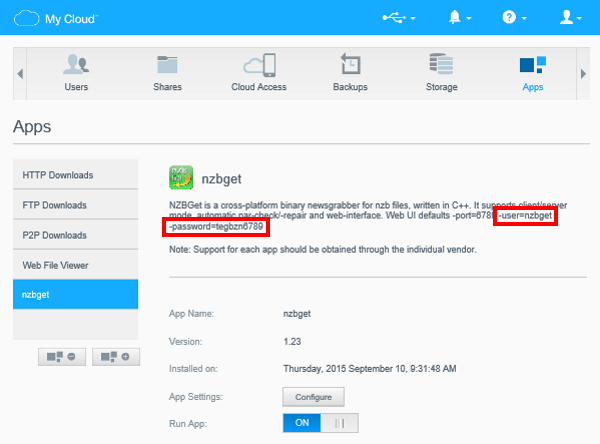
Click nzbget. - Note the nzbget User and Password.
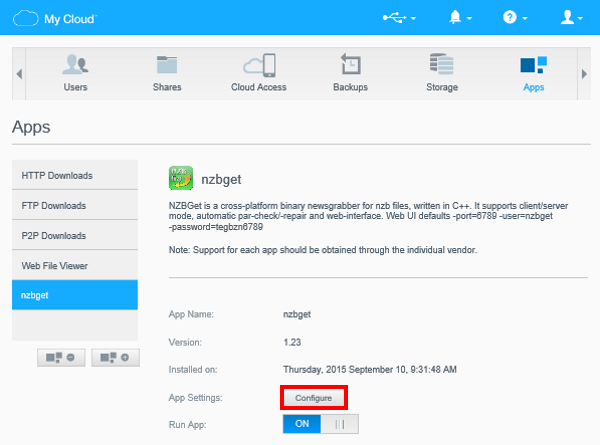
- Click Configure.
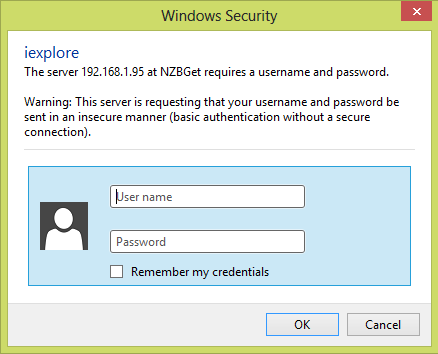
- Type the nzbget Username and Password.
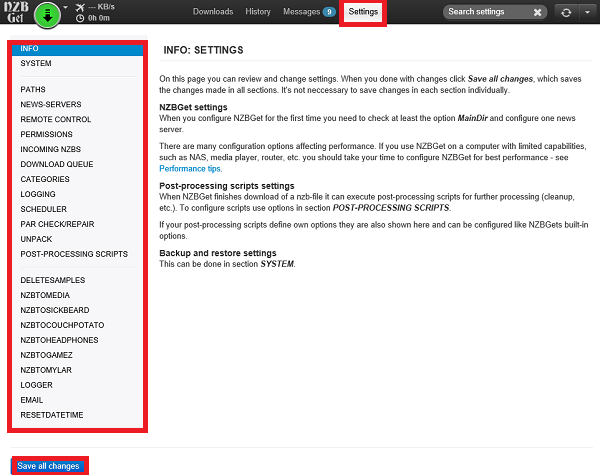
- Click Settings to configure the app.
Click Save all changes.
