Description
iSCSI target is missing.
The config file might be unreadable.

Resolution
Fix Using Dashboard Steps
- Reboot the My Cloud.
- Enable SSH (Secure Shell).
Login to My Cloud.
Need more help?
Answer ID 26497: How to Access WD My Cloud Using SSH (Secure Shell) - Copy and Paste this command.
Press the enter key on the keyboard.
cd /mnt/HD/HD_a2/.systemfile/iscsi_images

- Copy and Paste this command.
Press the enter key.
ls

EXAMPLE: The iSCSI image name is pr2100.img. - Copy and Paste this command.
Press the enter key.
du -sh /mnt/HD/HD_a2/.systemfile/iscsi_images/pr2100.img

EXAMPLE: The iSCI image is 932 GB. - Access the Dashboard.
Need more help?
Answer ID 29818: How to Access the My Cloud OS 5 Administrator Dashboard - Click Storage.

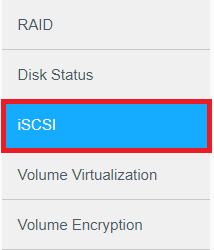
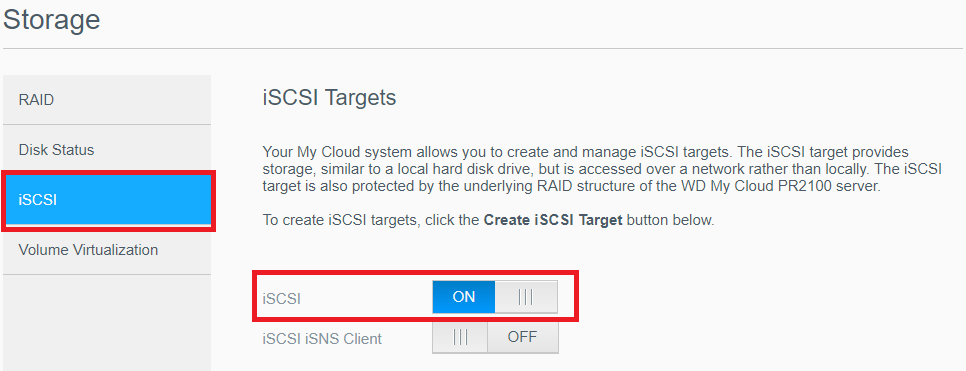
- Click iSCSI.

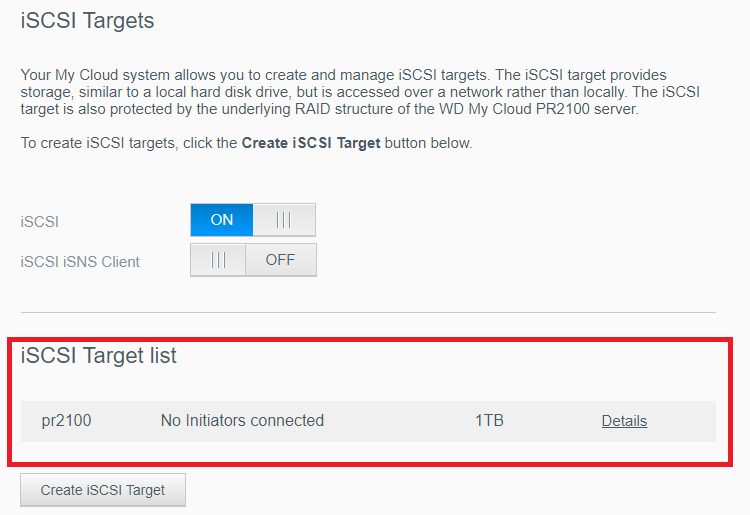
- Click Create iSCSI Target.

Need more help?
Answer ID 3864: My Cloud: Creating and Mounting an iSCSI Target - IMPORTANT:
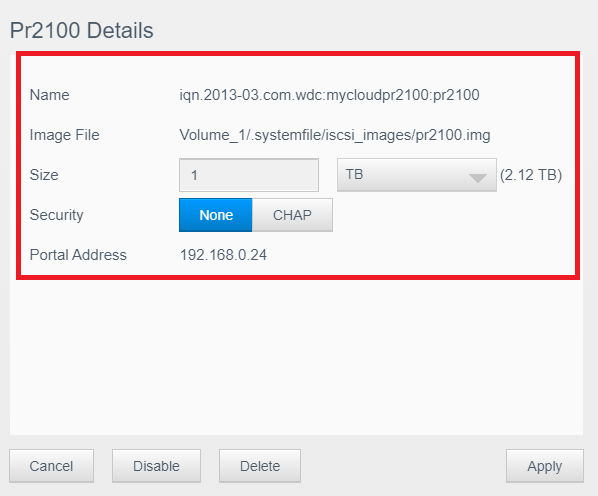
- The name must be identical to the original target name.
- A new disk image file will be created if there's enough space and the new target name doesn't match the image file name.
- The size of the target must match with the original size.
EXAMPLE: Create a 1TB iSCSI image for a 932GB image.
Fix Using SSH Steps
- Access the Dashboard.
Click Storage.
Click iSCSI.
Turn iSCSI ON.

- Enable SSH (Secure Shell).
Login to My Cloud.
Need more help?
Answer ID 26497: How to Access WD My Cloud Using SSH (Secure Shell) - Copy and Paste this command.
Press the enter key on the keyboard.
cd /mnt/HD/HD_a2/.systemfile/iscsi_images

- Copy and Paste this command.
Press the enter key.
ls

EXAMPLE: The iSCSI image name is pr2100.img. - Copy and Paste this command to get the volume name.
Press the enter key.
cat /etc/shared_name

EXAMPLE: The volume is Volume_1 - Edit and Paste this command to create the LUN.
Press the enter key.
iscsictl --add_lun -L pr2100 -F /mnt/HD/HD_a2/.systemfile/iscsi_images/pr2100.img -V Volume_1 -p 1
IMPORTANT:This error shows when LUN already exists.
LUN Name: pr2100 Already Exist
(src.c:task_add_lun:678): add new lun failed, error code = -9989

- Edit and Paste this command to create the LUN.
Press the enter key.
iscsictl --add_target -n pr2100
IMPORTANT:This error shows when the LUN Target exists.
Target Name: pr2100 Already Exist
(src.c:task_add_target:660): add new target failed, error code = -9989

- Edit and Paste this command to map the LUN and target.
Press the enter key.
iscsictl --add_lun_to_target -n pr2100 -L pr2100

- Access the Dashboard.
Click Storage.
Click iSCSI.
View the target.


Data Recovery
- Transfer the image to external storage if the iSCSI target doesn't mount but the image is present.
- Data Recovery is recommended if the iSCSI target still won't mount and the data is needed.
IMPORTANT:
Western Digital does not perform data recovery services.
Contact one of our Data Recovery Partners.
Any agreement you may reach with the service provider is a matter between you and the service provider.
Western Digital makes no warranty, express or implied, regarding the services provided by the service provider, including but not limited to, any warranty regarding the quality or reliability of services performed by it.
Your selection of the service provider is at your own risk. Western Digital assumes no liability for any loss or damages of any kind that relate to, arise out of or result from the performance of services by the service provider, including, but not limited to any loss of data contained on a Western Digital hard drive.
Need more help?
Western Digital Warranty Policy
Delete the iSCSI Image
 |
Critical: The process is Data Destructive and cannot be undone. |
- Enable SSH (Secure Shell).
Login to My Cloud.
Need more help?
Answer ID 26497: How to Access WD My Cloud Using SSH (Secure Shell) - Edit and Paste this command.
Press the enter key on the keyboard.
rm -rf /mnt/HD/HD_a2/.systemfile/iscsi_images/pr2100.img

